Hard-Surface Model (vehicle advertisement) – VSFX 785: Graduate Independent Study, Winter 2013
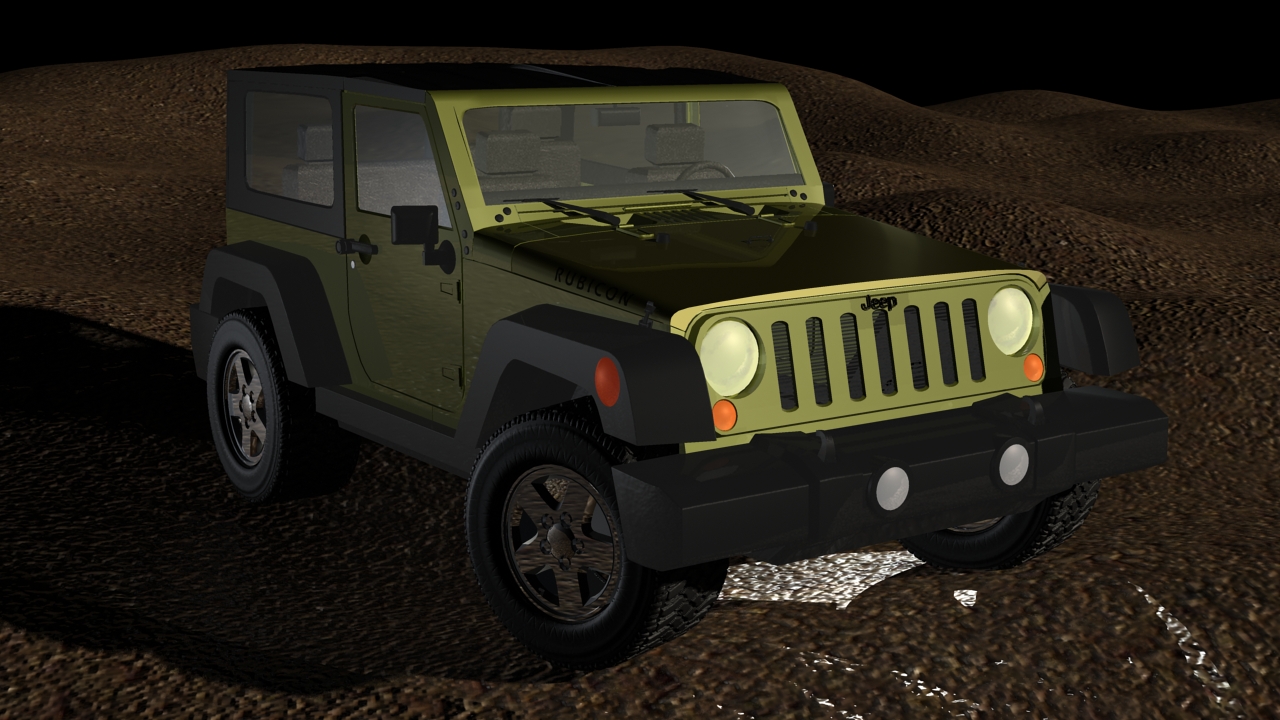
Final Image
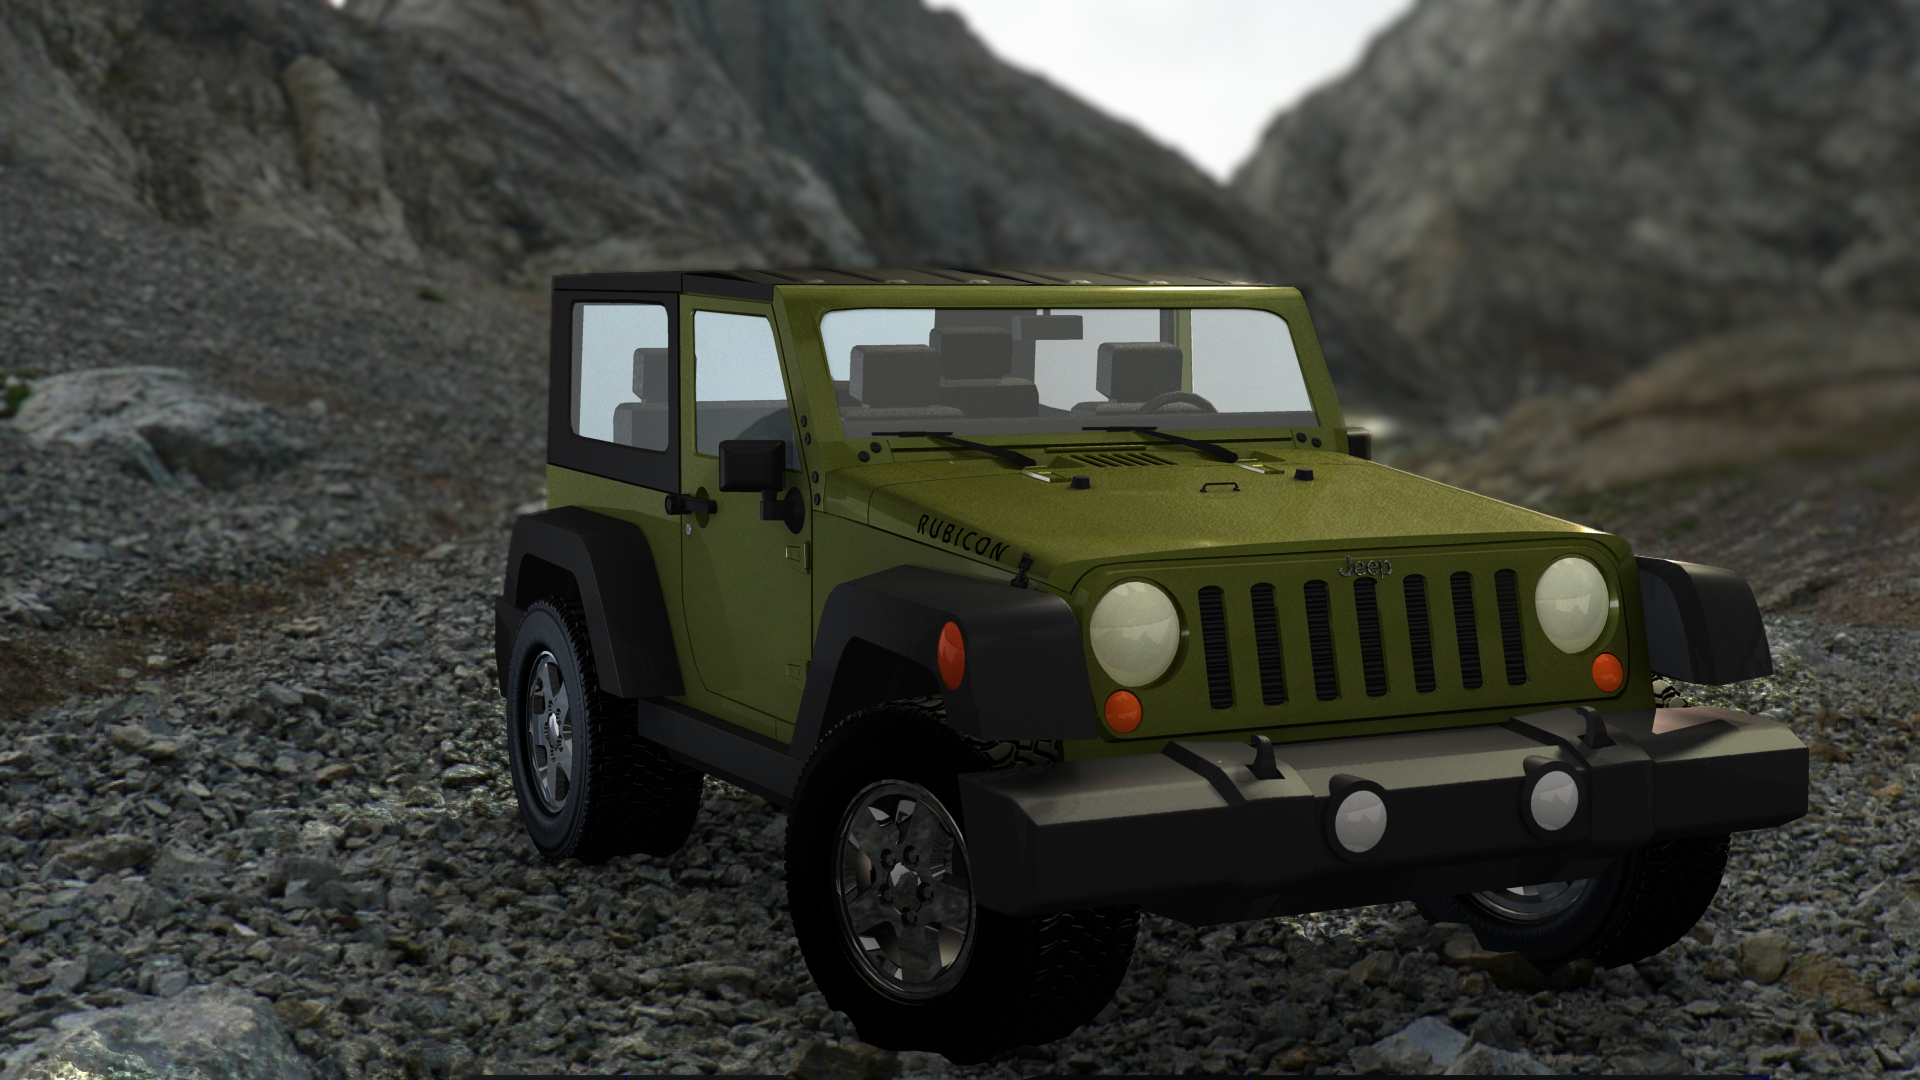
The second part of this project entailed adding texture to the hard-surface model and final lighting, to create a shot that was suitable for an advertisement. I utilized many shading networks in Maya to create the various textures of the car, and used color, specularity, bump, and displacement maps where needed for items like the tires, the roof of the car, the plastic of the bumpers and headlights, and the Jeep logo.
Once I completed the texturing and lighting components, I decided to try my hand at compositing so that my finished Jeep would sit comfortably in a background. This was my first experience with compositing, and once I selected an image to serve as the background plate, I needed to modify the lighting to match. I then had a crash course in Nuke and compositing from a tutor.
I used multiple render passes such as Master, Ambient Occlusion and Shadow to enhance the look and believability of the scene. Then I brought the background image into Nuke and began connecting everything to complete the project. This proved to be difficult for me because I haven’t worked much with Nuke or compositing in the past, and it was my first time using render layers as well. This part of the project was completely voluntary, and enlightened me as to what is possible in the world of 3D and visual effects.
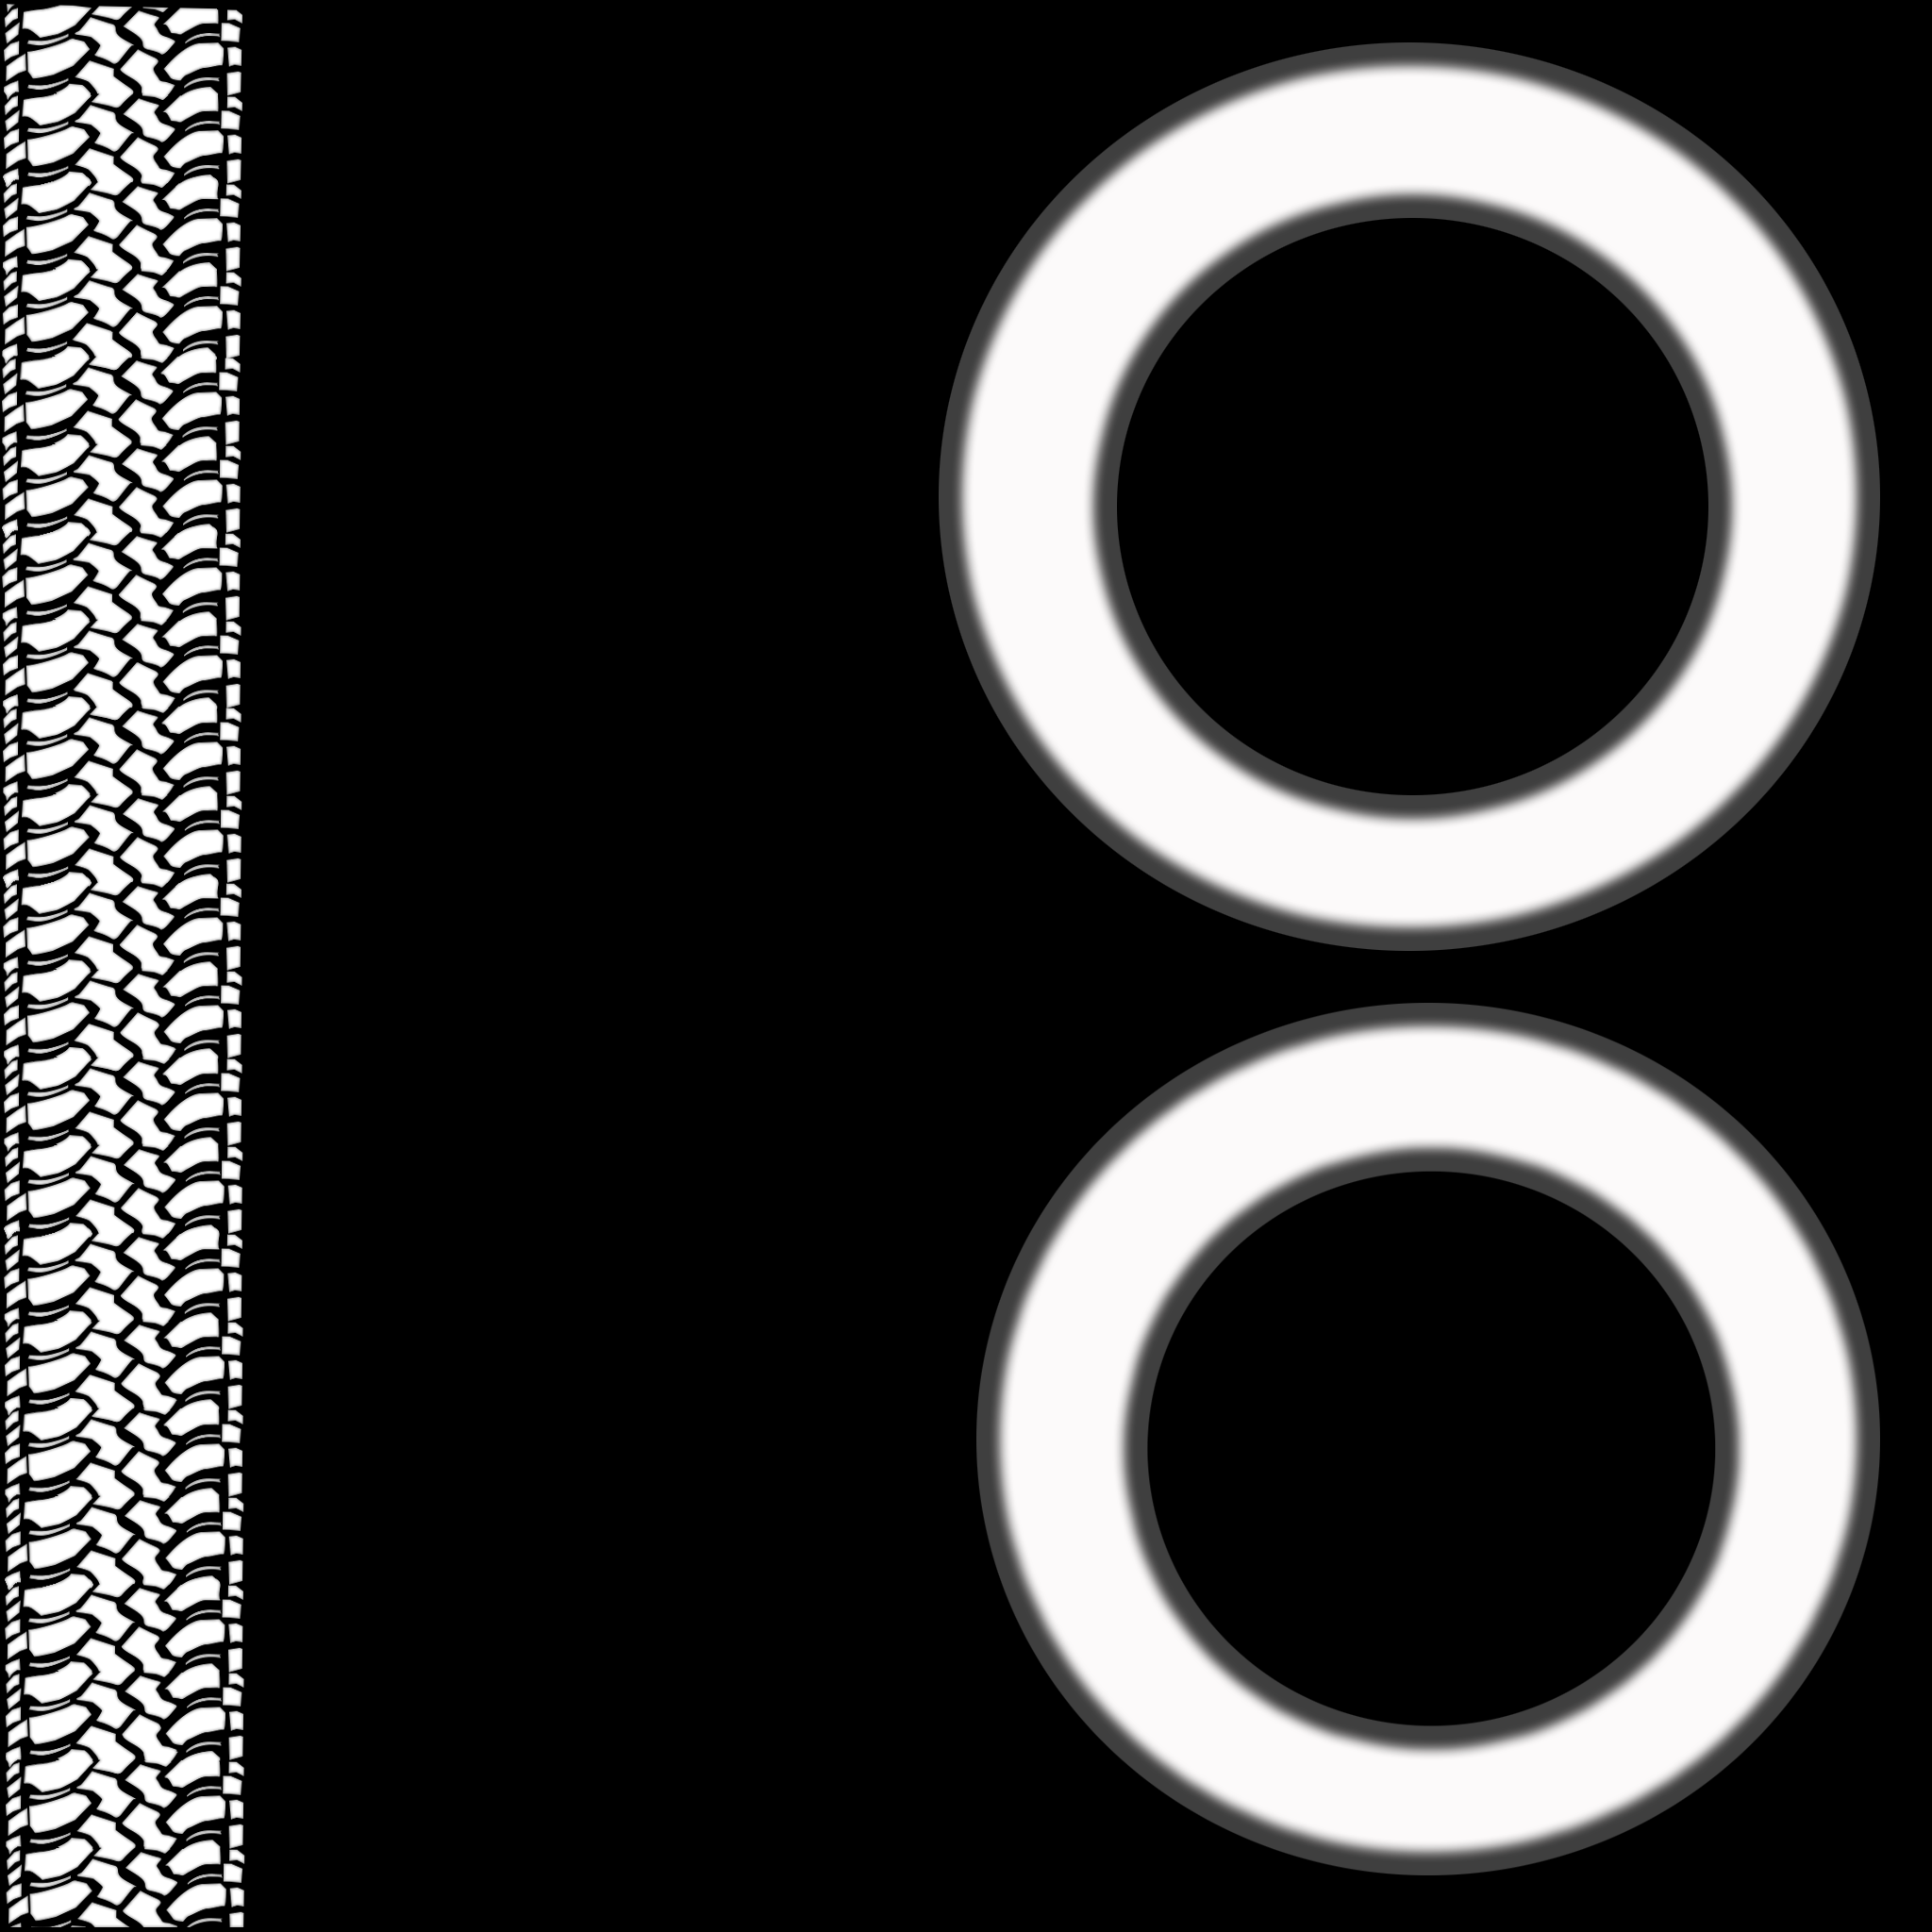
The displacement map of the tires in Photoshop, as laid out by the UV Texture Editor in Maya. The UV layout was taken as a “UV Snapshot” and brought into Photoshop to be detailed.
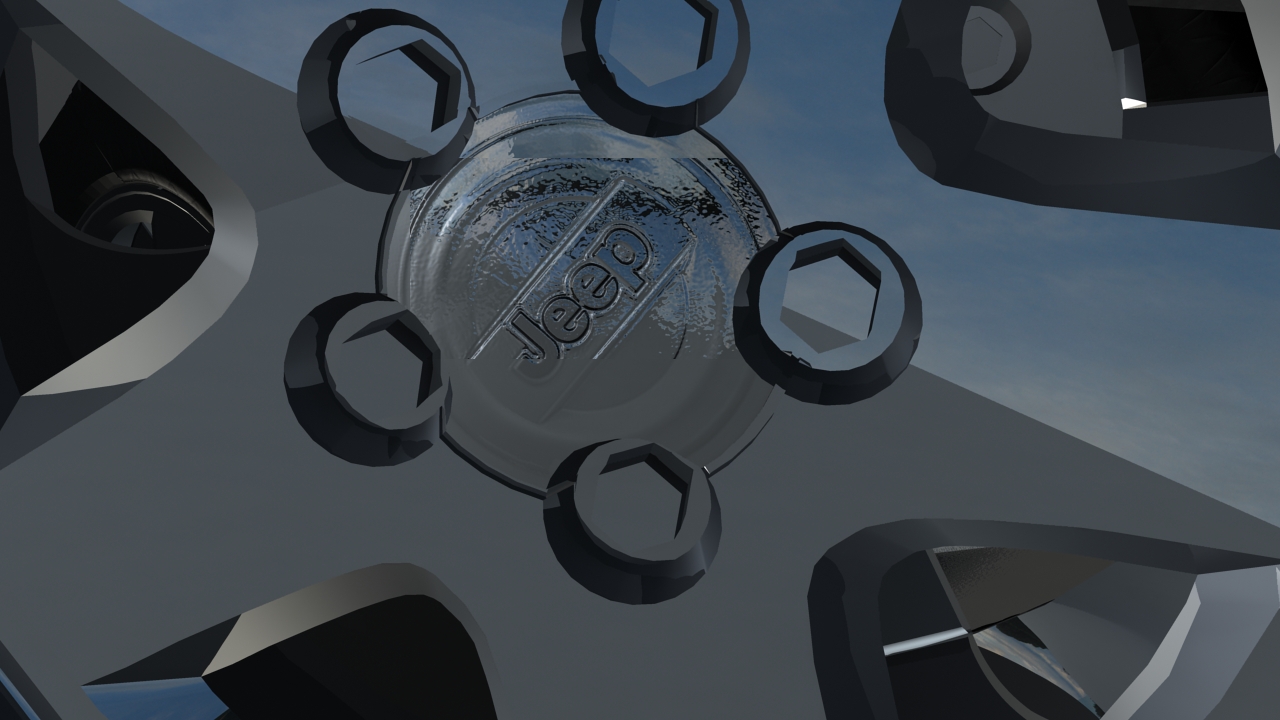
A close up of the Jeep logo on the tire hubcap. The image was rendered with a crop box around the central part of the logo, to show my experimentation with the scale of the bump.
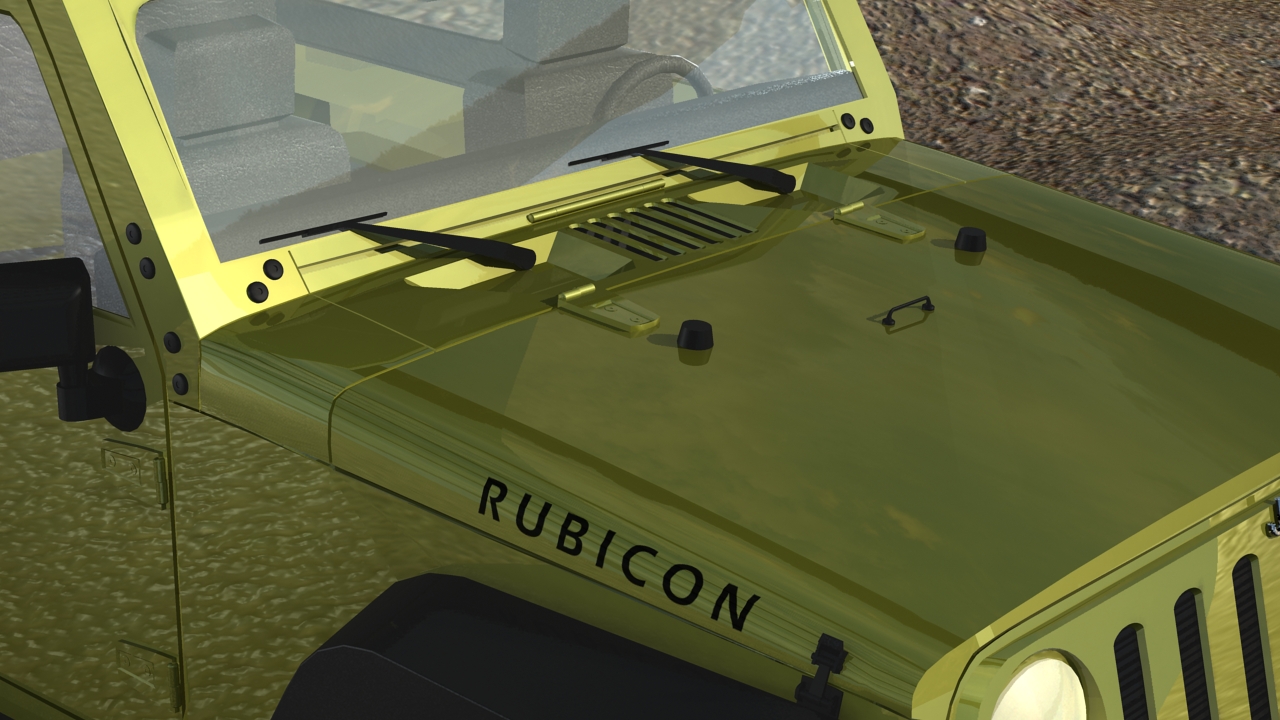
The “Rubicon” label on the vehicle’s hood. This was trickier to achieve and required a more complicated layered shader to show the car paint material underneath the text, which was created in Photoshop.
a close up of the “flakes” that come standard with the car paint material
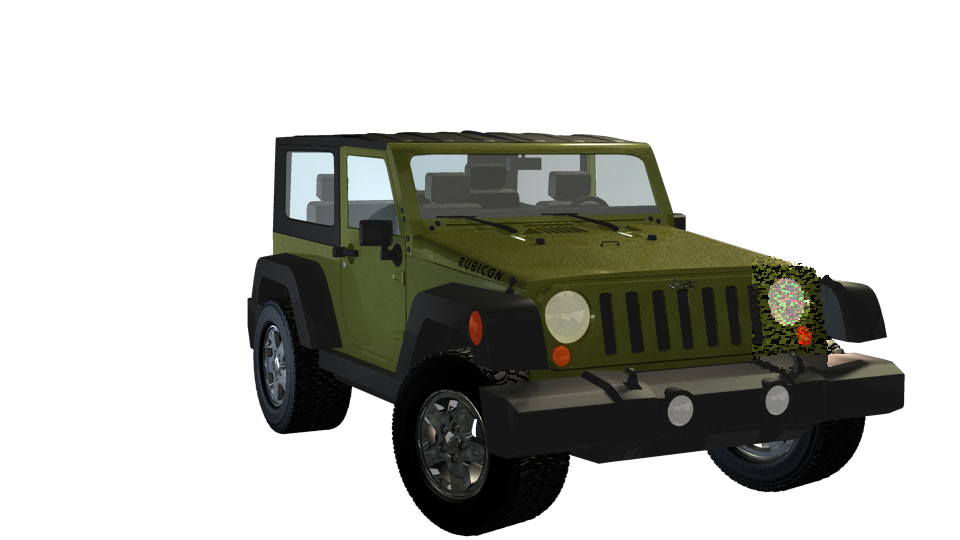
A preliminary “final” image or test shot that was done before the compositing process begun
 Master Layer, in mid-render

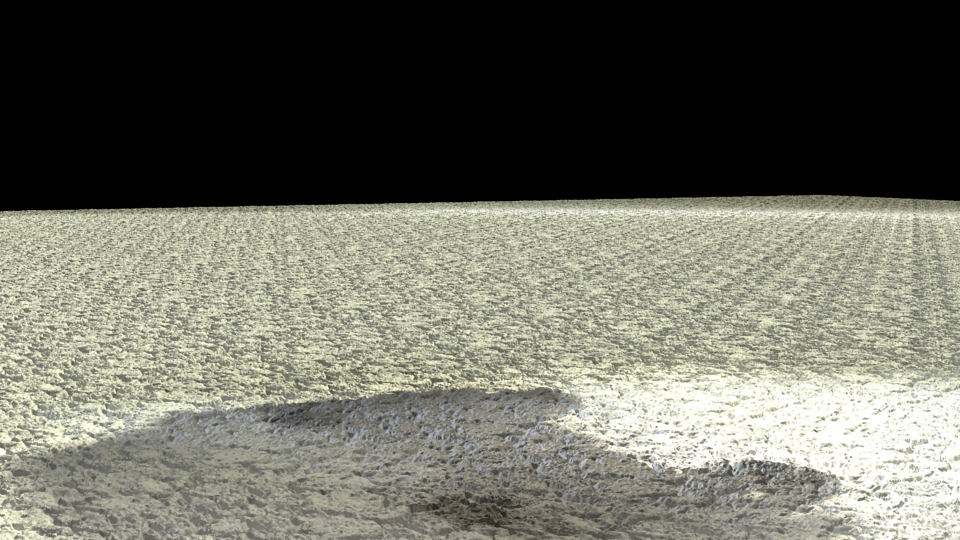
Ambient Occlusion pass
Shadow pass: used in the compositing process to recreate or replicate the shadow of the object in Maya in the 2D image
Z-Depth pass: the final step in the compositing process, used to create a sense of depth and depth of field between the 3D Maya object and the 2D photograph
Final Model and Render
The first part of hard-surface model is completed! Now that I have a finished model with a basic lighting set up, I will add textures and the final lighting and background. Through countless hours of modeling, mistake-making, mistake-fixing, back and wrist pain, and a lot of lessons learned, I can reflect back on this experience as a good one.
At this point I am very much looking forward to texturing and lighting the model in order to create an advertisement and complete my first project.
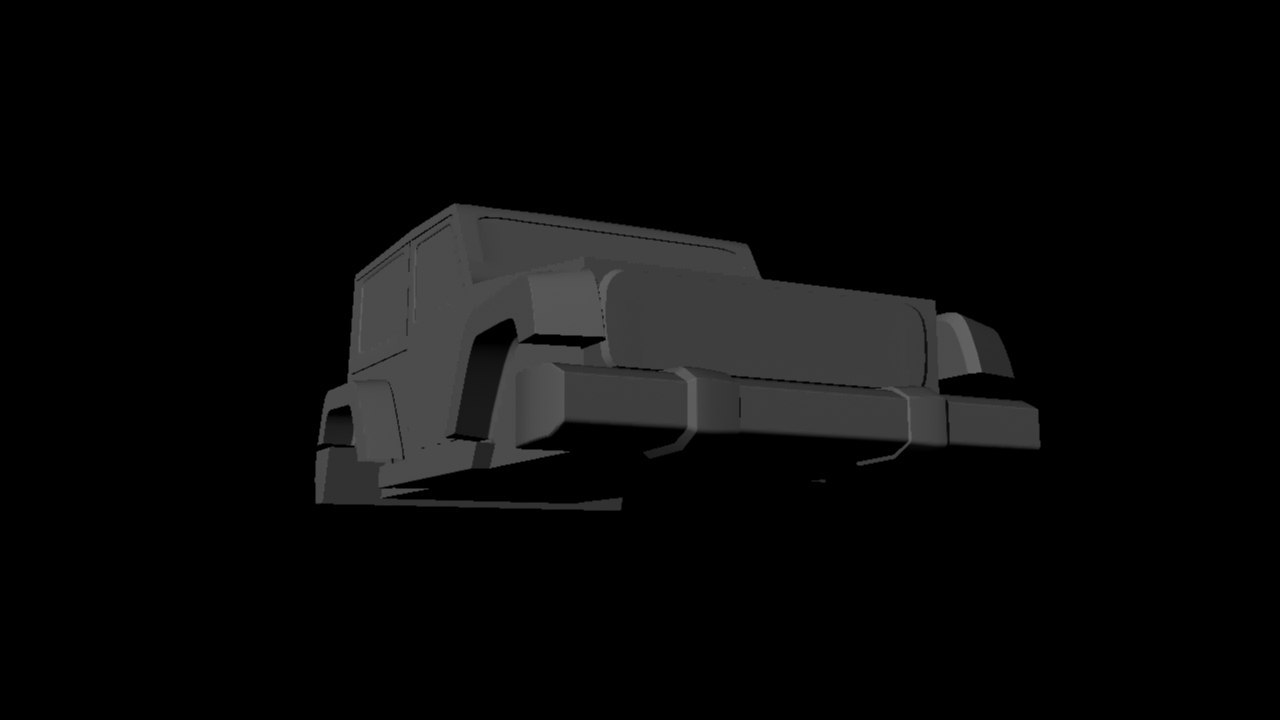
Part 1, hard-surface model with temporary lighting

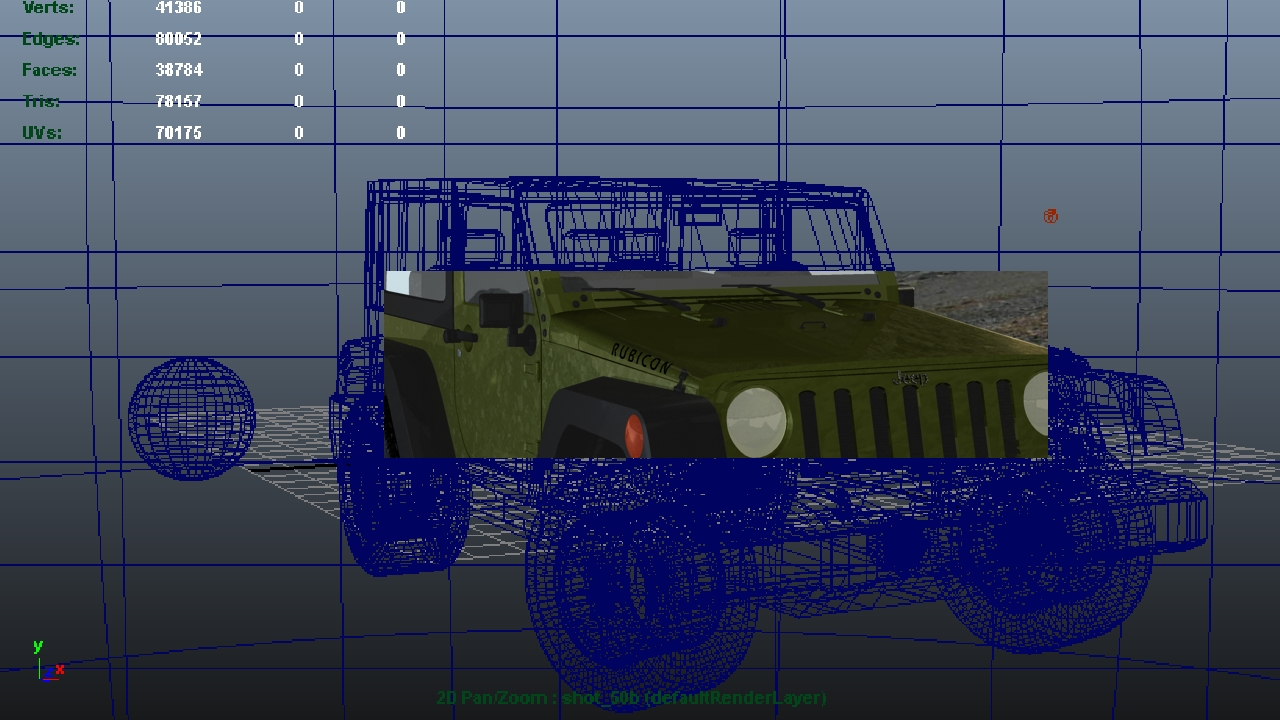
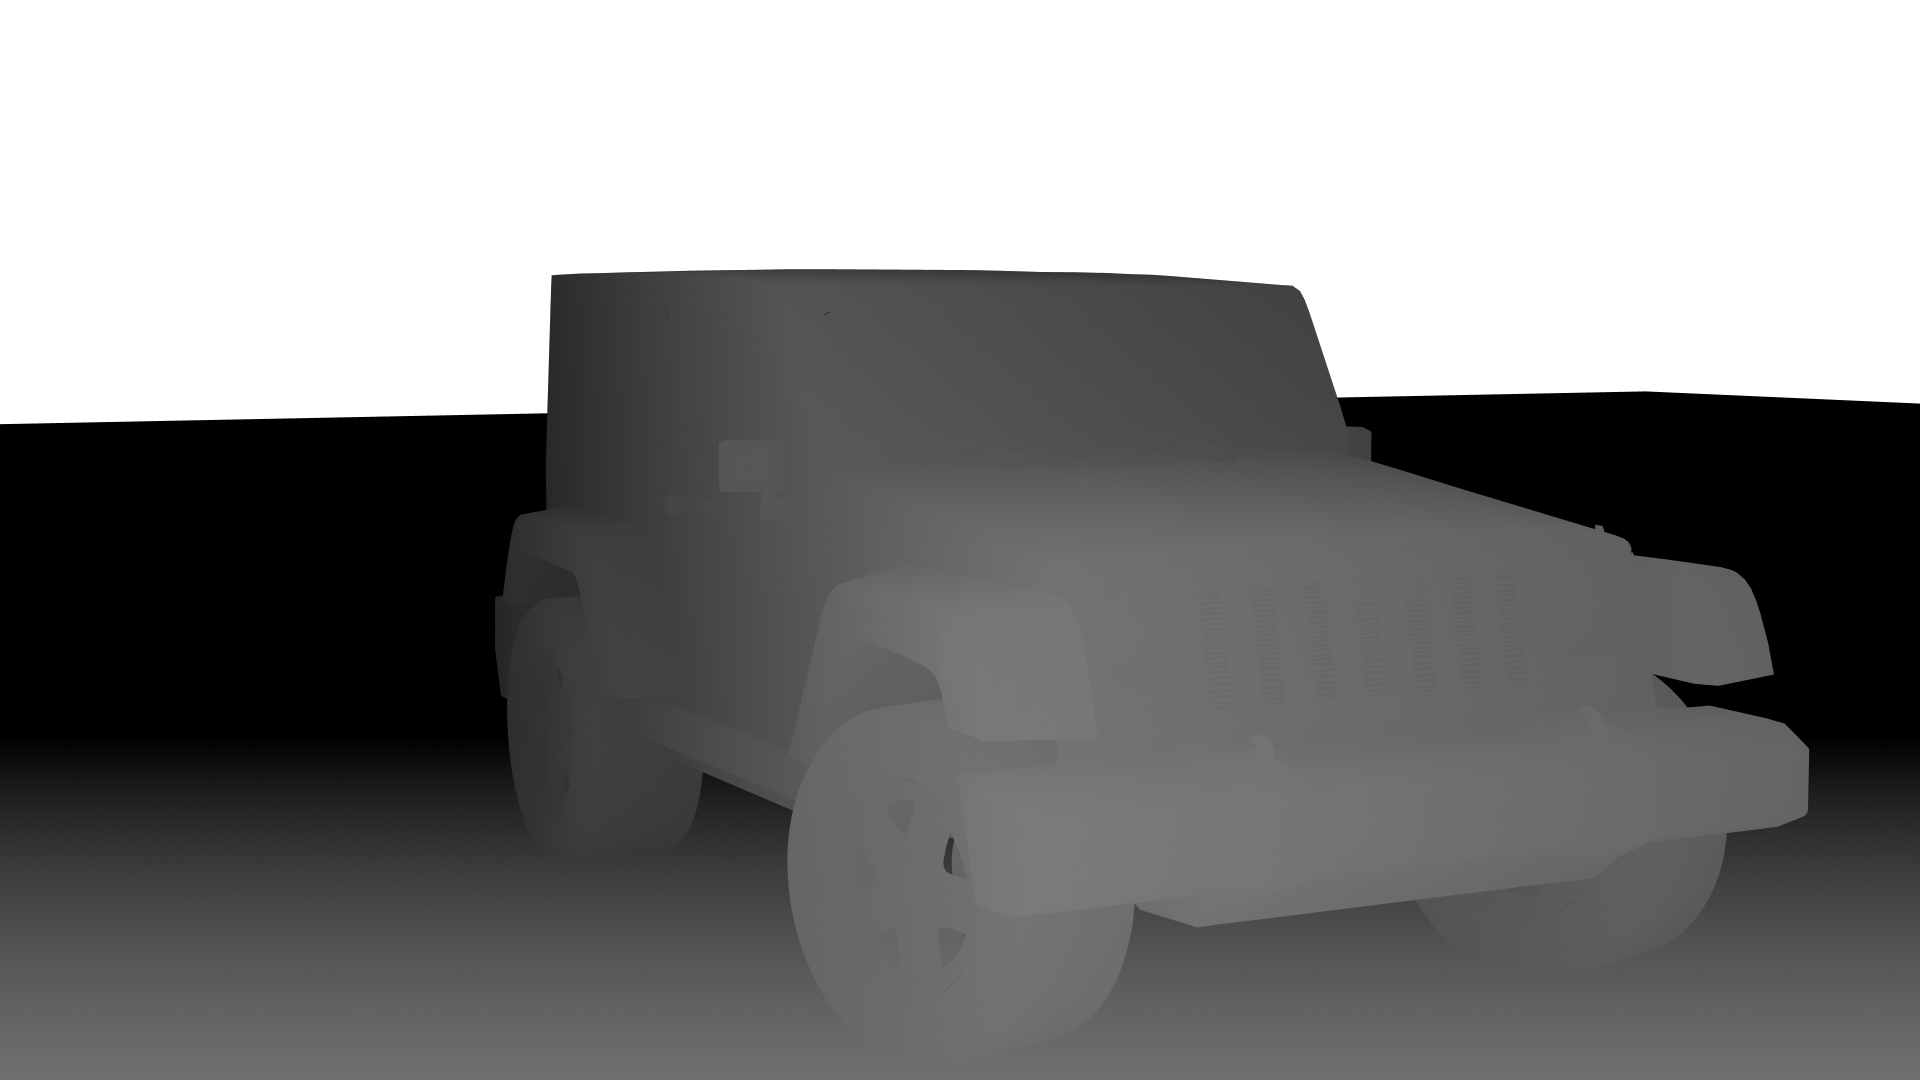
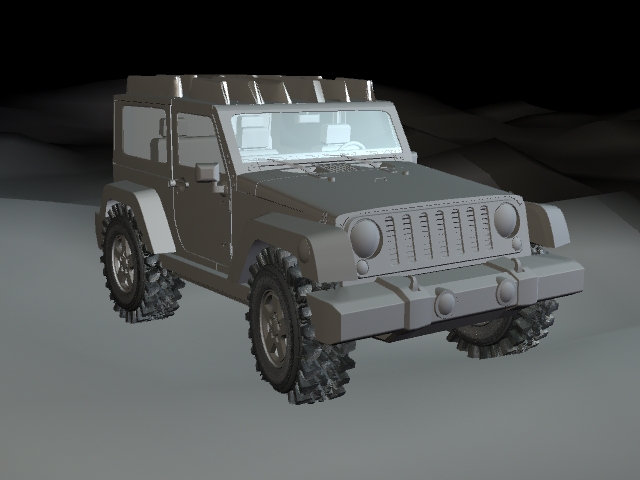
Final Render Image for part I (model only) – temporary environment and lighting, final camera angle, 50mm lens
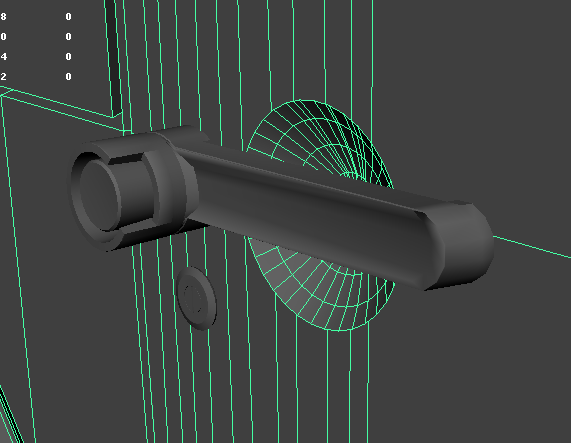
close-up of the geometry of the door handle
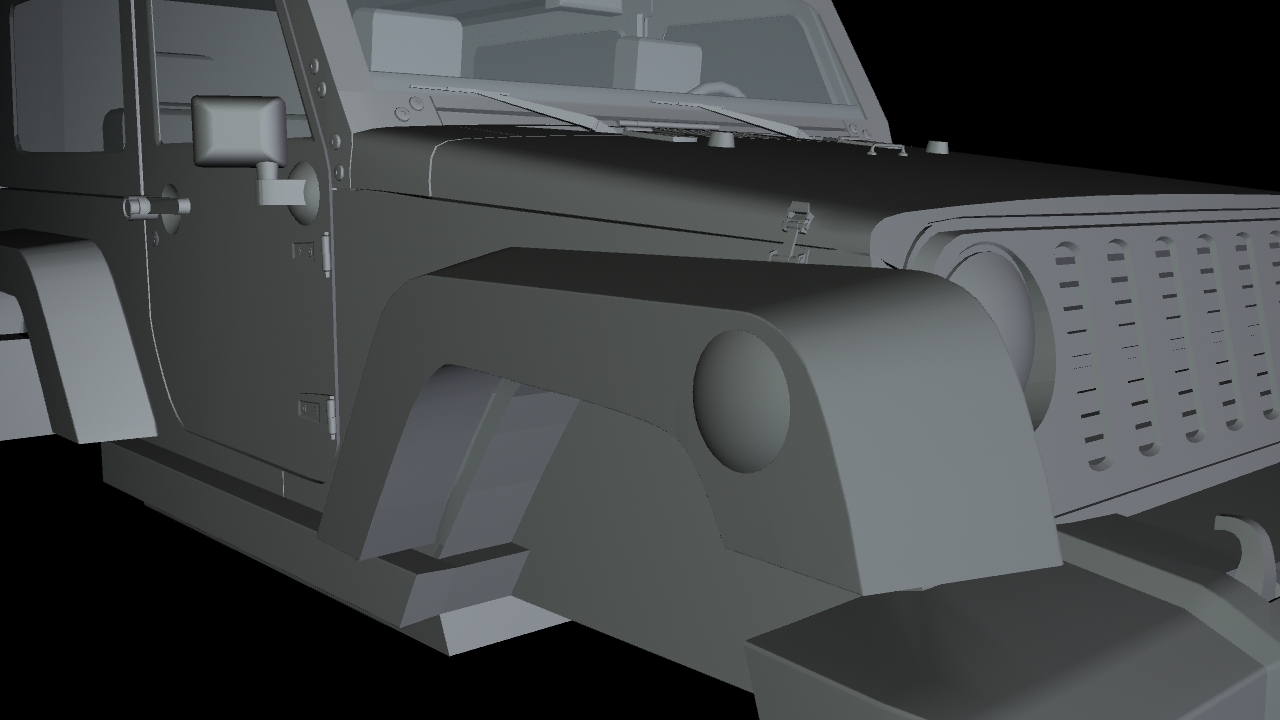
close-up of the finished bumper
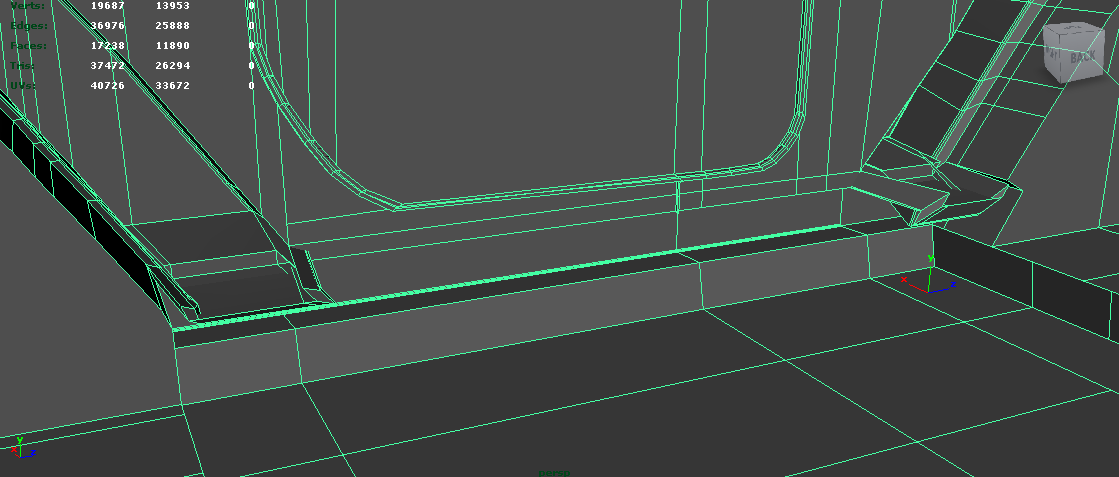
from the inside of the vehicle: shows the messy and problematic geometry that resulted from extrusions on the door creases
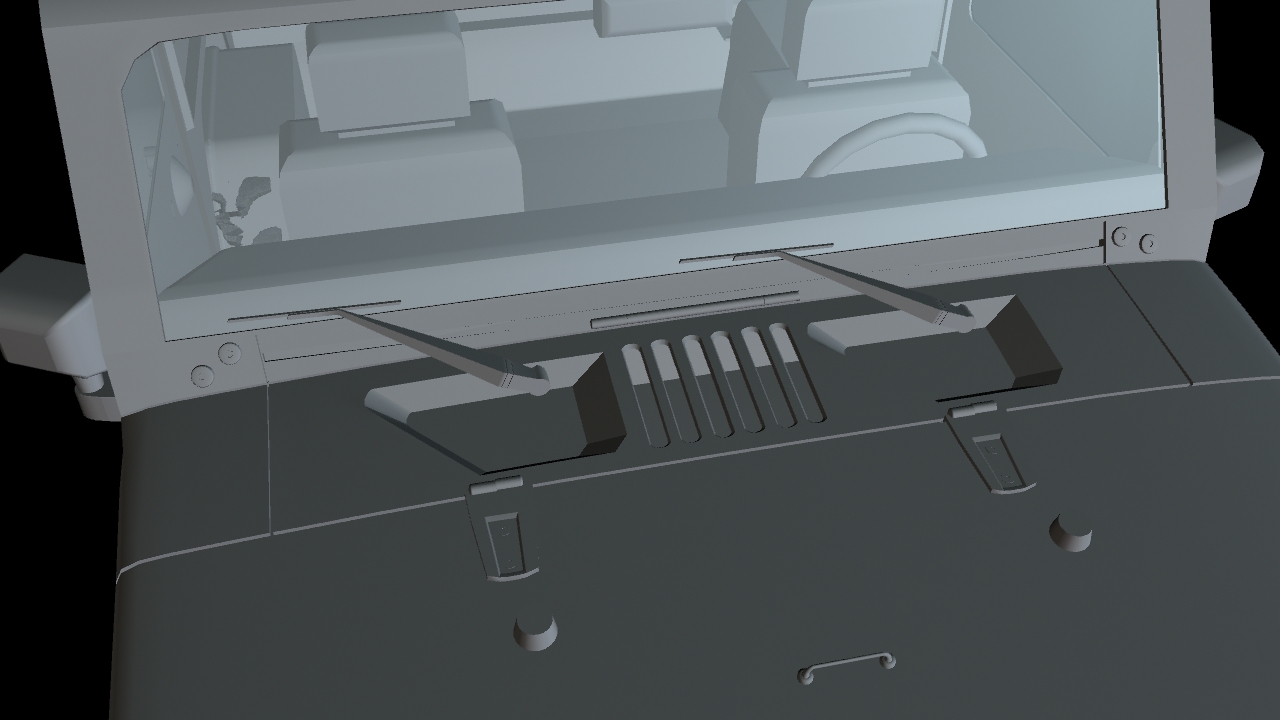
close-up of the hood of the car, and the “interior”, with a temporary Blinn shader for the transparent window glass
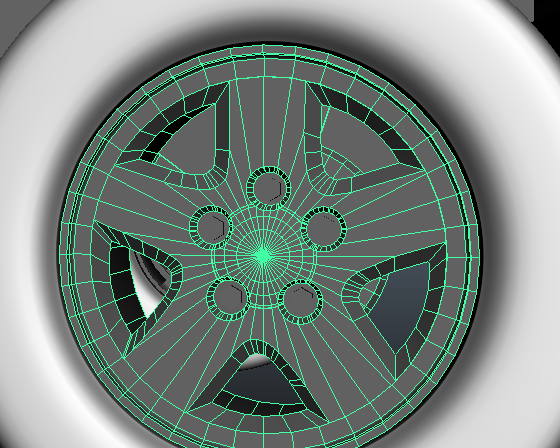
close-up of the tire hubcap; was remodeled at least twice, but resulted in a pretty good-looking final piece!
the displacement maps (applied to the roof and tires), as rendered using Maya Software instead of Mental Ray – experimental render only!
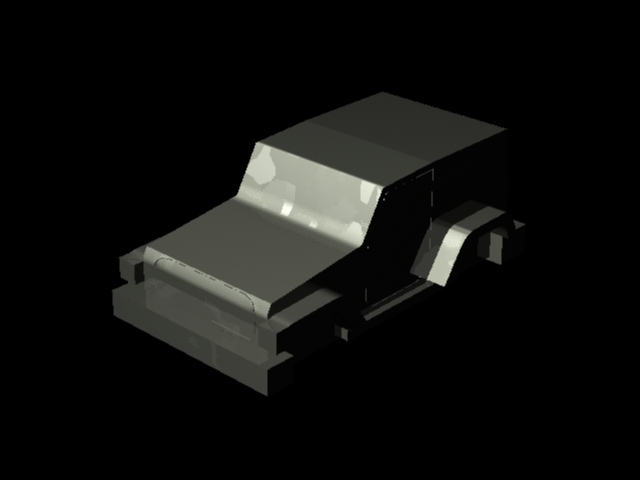
early stages of my single-object model
Jeep advertisements, for inspiration

Beginning Stages – General Modeling
The early stages of modeling are already proving to be somewhat difficult for me. Having little experience with Maya and modeling, I have yet to attempt a model as complex as a vehicle – until now! I have already scrapped my model and redone it many, many times, as I am quickly learning about things that are helpful, and things that may get my model into trouble down the road.
Its already proving to be difficult to model the Jeep from a single object, but I will see this through for my first time. However, in the future, I will definitely try an alternate method that will involve more objects and pieces.
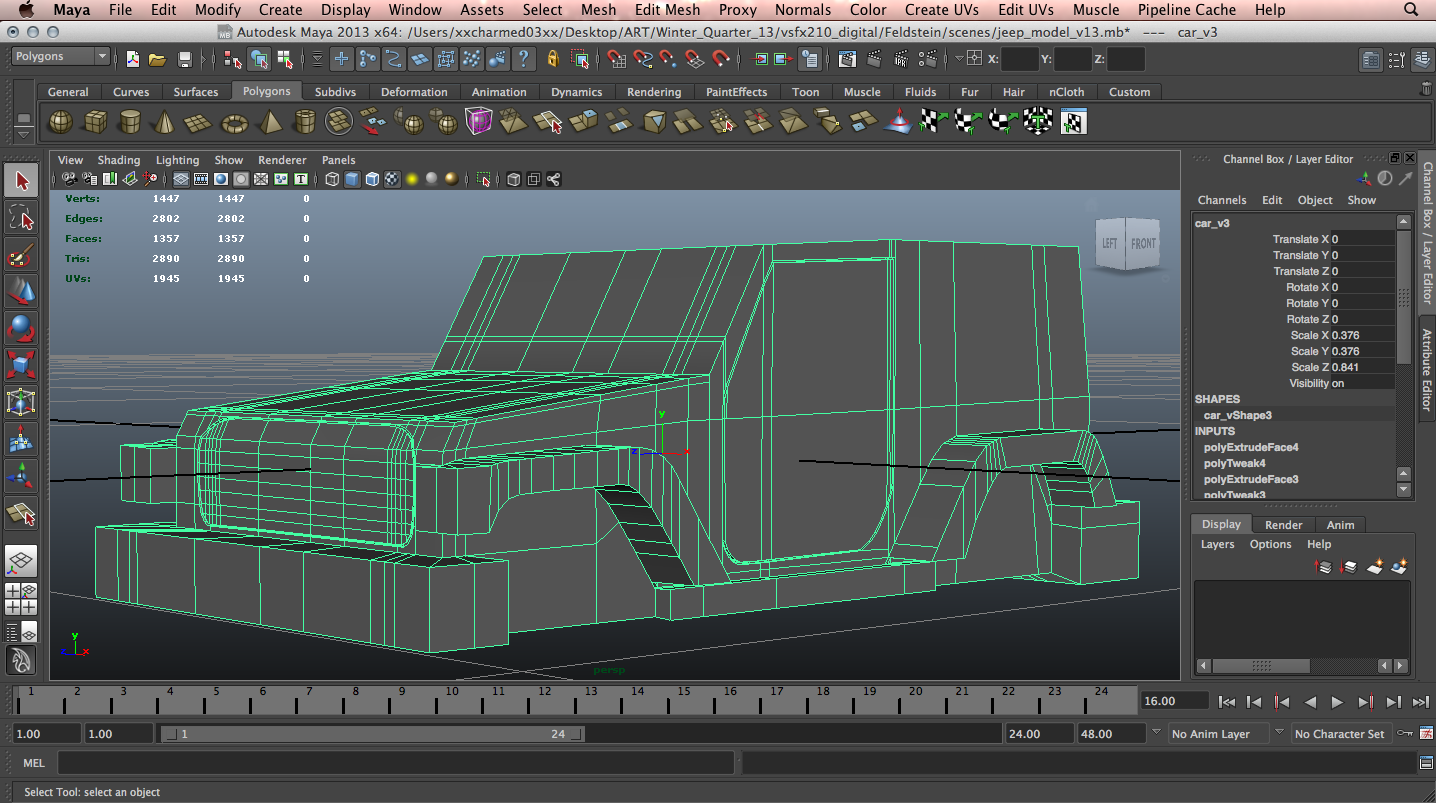
polygonal mesh
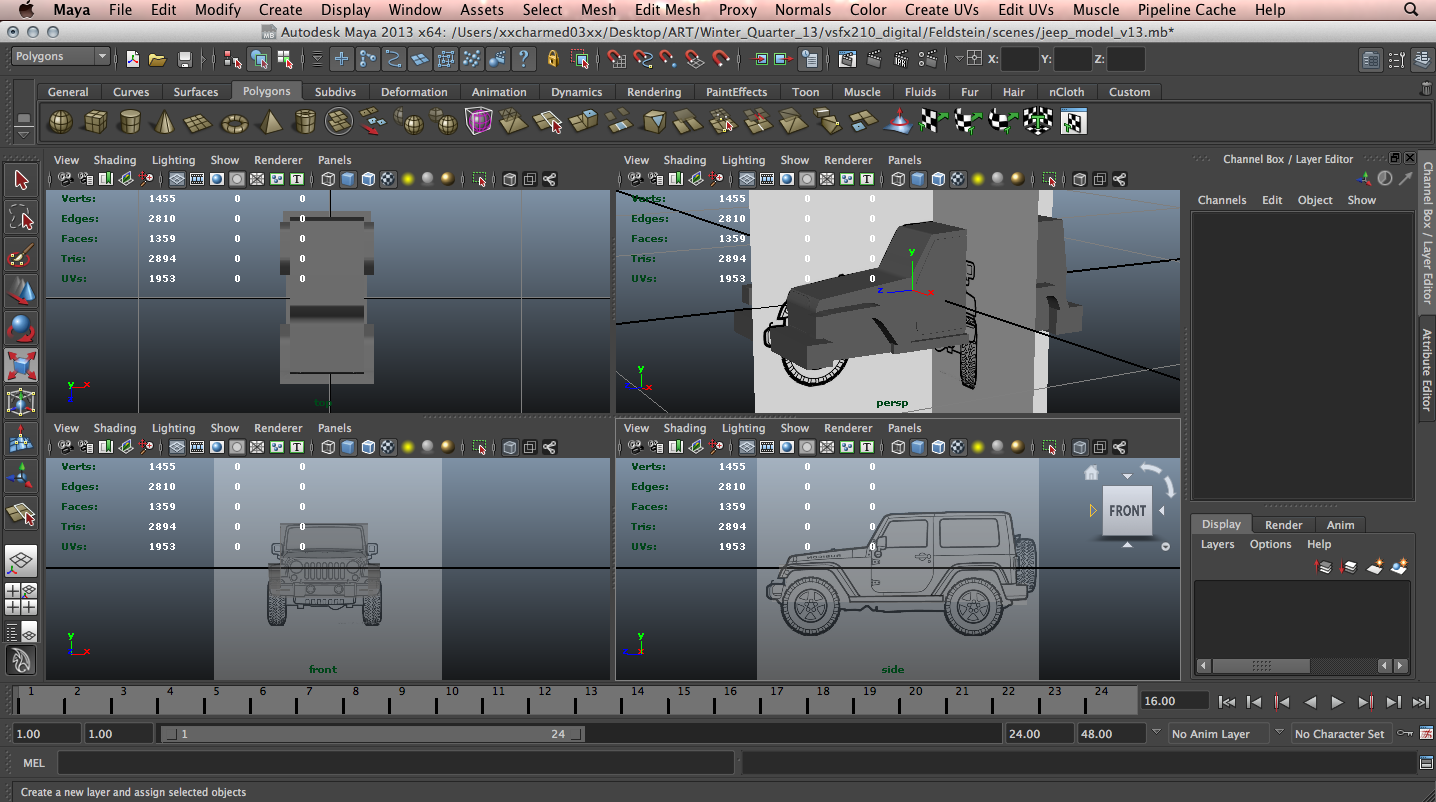
four view modeling layout – necessary for modeling each perspective
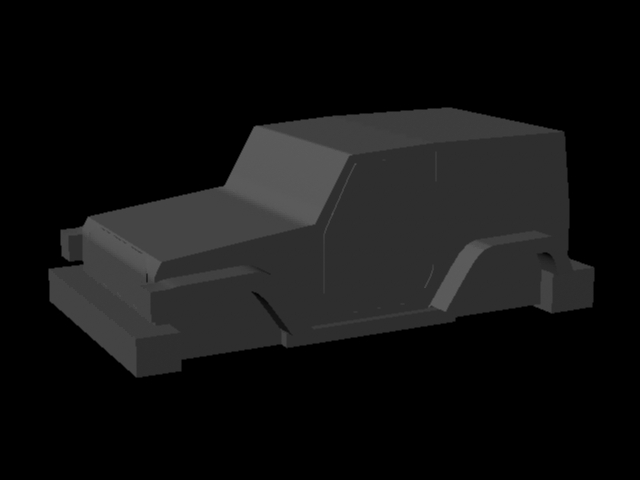
preliminary render (Maya software)
mental ray with basic “mia_car_paint_phen_x” shader applied; imperfections show me where the mesh needs correcting
Introduction and Research
For the first assignment in my graduate independent study I will be creating a hard-surface (polygonal) model of a Jeep Wrangler Rubicon 2007. The first stage of this project is research – researching the model and gathering a sufficient amount of reference photos from different angles, in addition to locating the blueprints of the vehicle.
Below are some images I found in my research and will be using for the project. I also did my own sketches of the blueprints to gain a better understanding of the vehicle and its proportions.

Jeep Wrangler Rubicon 2007
Jeep Wrangler Rubicon 2007 blueprints
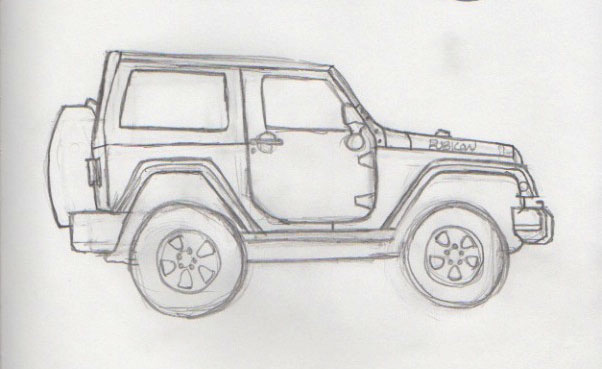
sketch of the side view (from blueprint)
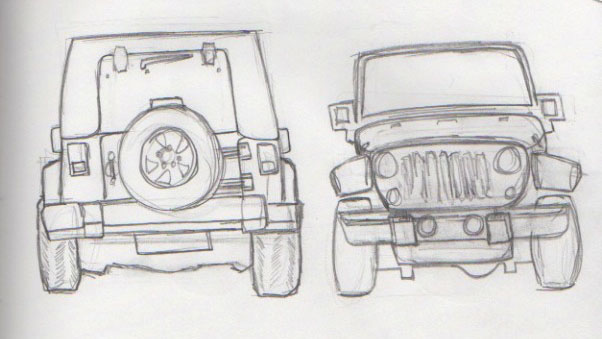
sketch of the back and front views (from blueprint)
