The Motion Capture Data Parsing Project focused on the use of Python to parse motion capture data and separate the x, y, and z coordinates into separate files. These files would then be taken into Houdini and used to locate the marker points on the person in the motion capture footage.
Motion Capture clips courtesy of:
http://accad.osu.edu/research/mocap/mocap_data.htm
——————————————————————————————————————————————————
The project contained 2 parts:
A) write a Python script to parse mocap data
B) take new files into Houdini
——————————————————————————————————————————————————
ALGORITHM:
Open original motion capture file to read with “r”;
Read the lines of original file into a list;
Close original mocap file;
Create a variable with an array to store information from file;
Create a variable that establishes multiple file names for organization;
Use a for loop to append each line of information inside a list
Use another for loop to create row of three points, “xyz”;
Use an if statement with a modulus to calculate every fifth frame;
Create a variable for a new file, then create the new file’s name by calling the variable;
Create a variable for the number of rows of information
Use a for loop to create columns with “xyz” values;
Create a variable to write information into a new file, then write the new file by calling the variable;
Close the new file
The second part of the project, which was to bring the newly converted files into Houdini, involved creating a “.otl”, or digital asset.
Screenshot of the project in Houdini
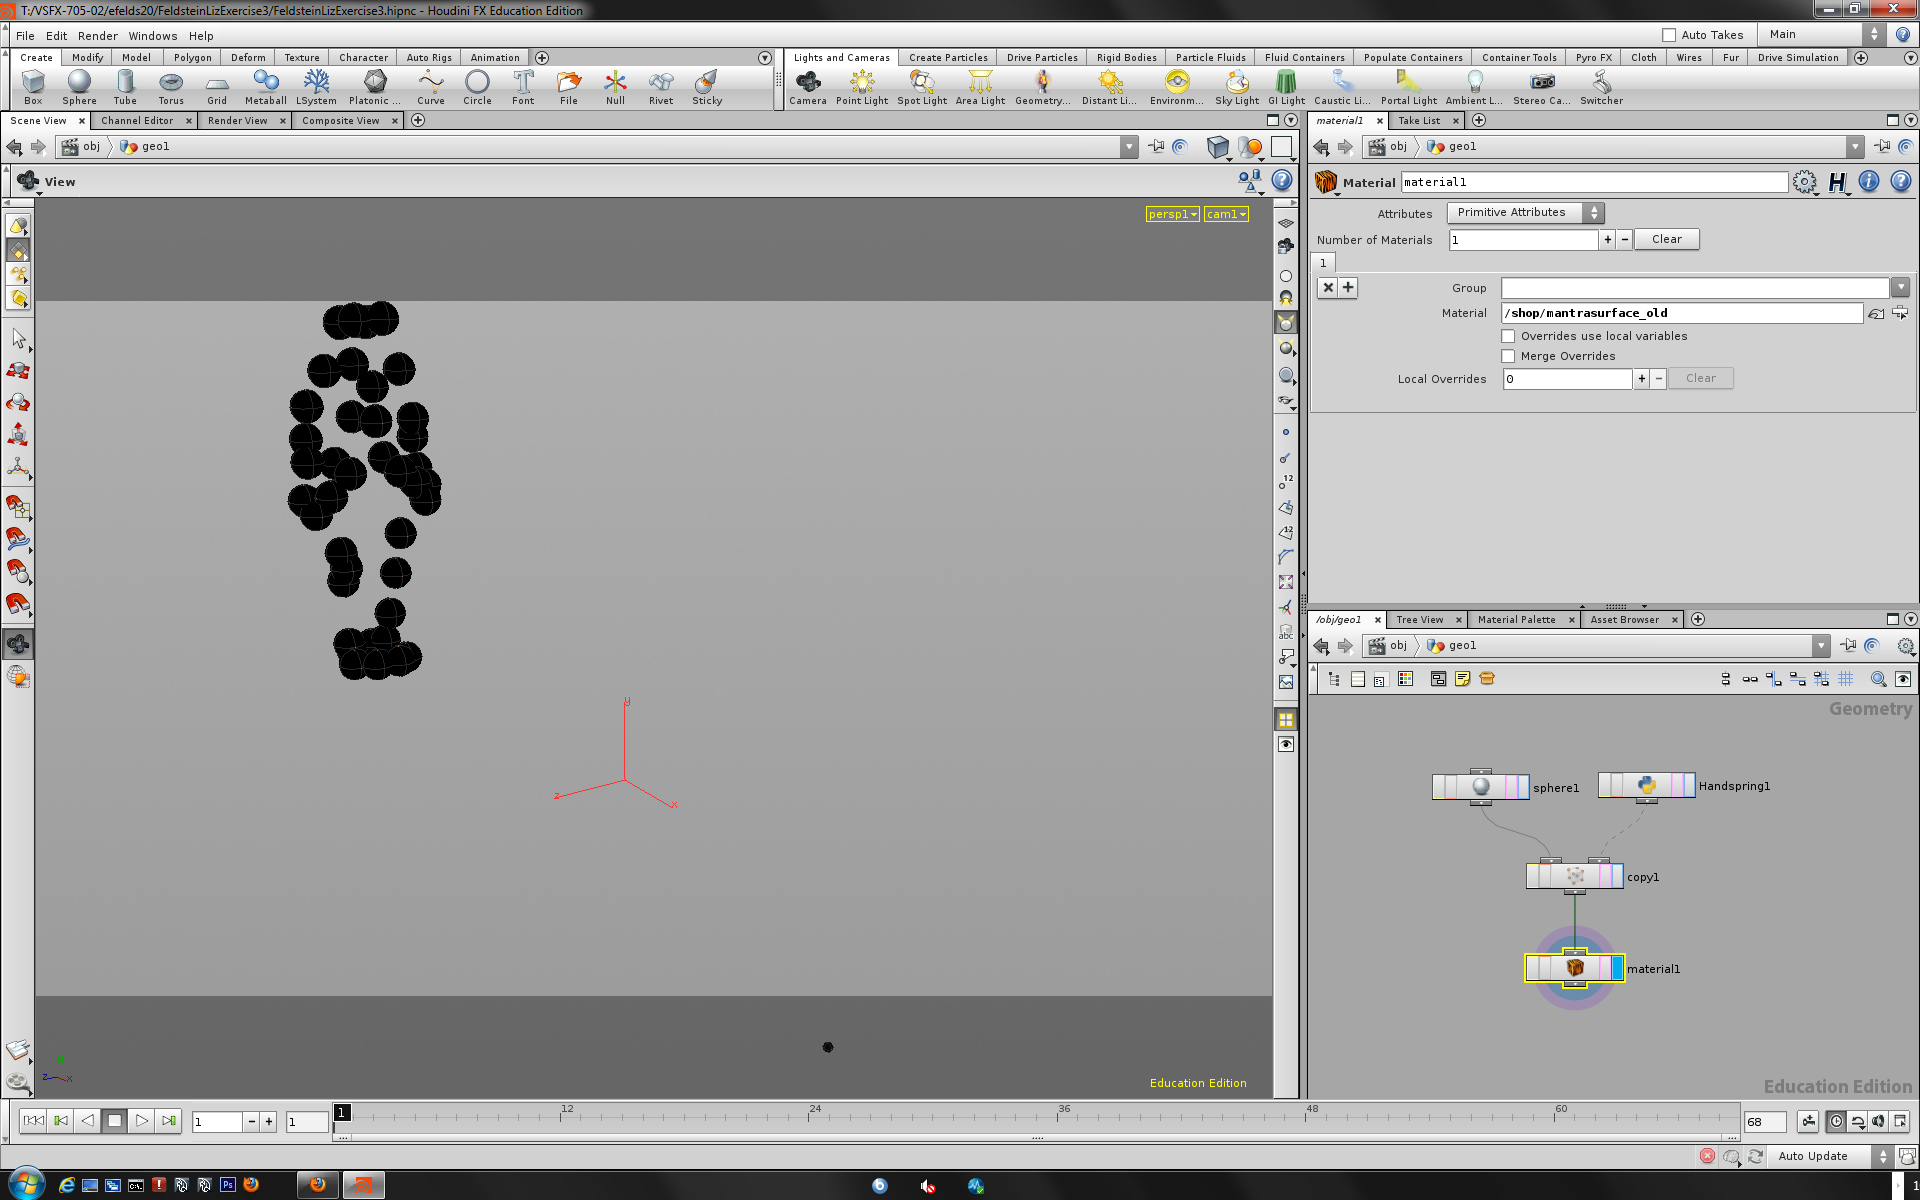
To create a “.otl”, I set up a “New Operator Type” and named it to correspond to the action in my mocap footage.

After hitting “Accept”, I am brought into the “Edit Operator Type Properties” window, where I used code provided by Nate Usiak to help create the “.otl”. The code was modified slightly by removing velocity parameters that I did not use in my project. I also divided the “poly_point.setPosition” floats by 100 to make the geometry that will be applied to the markers more visible in the viewer.

Once the “.otl” is created, I added a geometry node and was able to navigate to my newly created “.otl” by creating a “Digital Asset”. By attaching a primitive shape such as spheres to the “.otl” via the copy node, the mocap data becomes visible in the viewer. Below is a screenshot of the setup involving the “.otl” (Handspring1) and the sphere node.
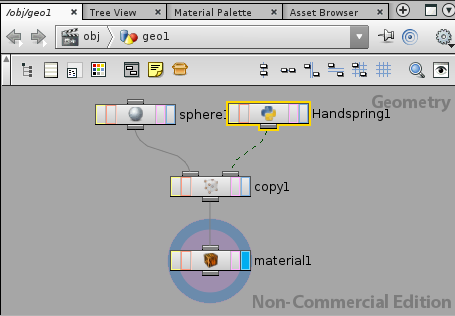
To make the motion capture “sphere-man” more aesthetically pleasing, I applied a Mantra Surface Shader to the spheres by connecting the material’s node to the copy node, as shown above. I changed the shader type to a Blinn so it would have reflective qualities, and made it appear pearlescent by changing its base color and adjusting the diffuse intensity, reflections, refractions, and a few other attributes.
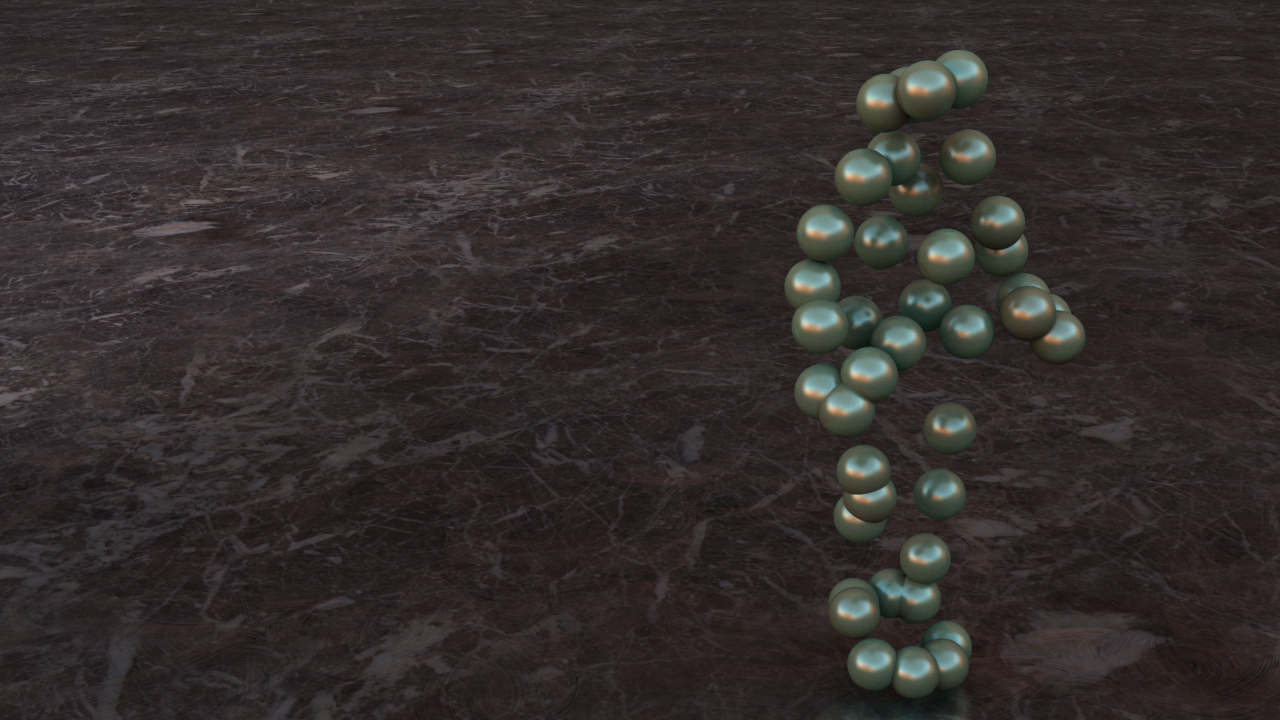
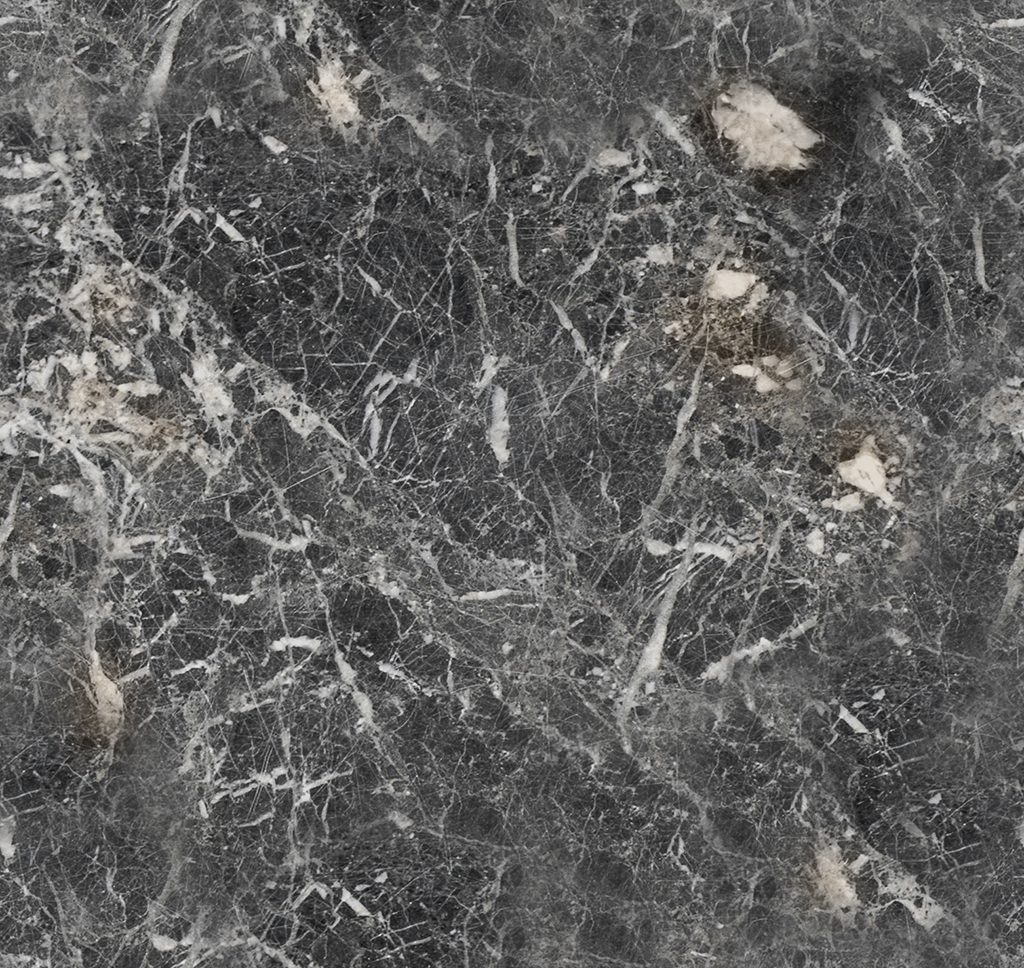
I also added an HDR image to assist with lighting, in addition to using a couple of area lights. Finally, I placed a ground plane beneath the sphere character and decided to apply a marble texture to it to compliment the pearlescent quality of the sphere shader. Shown below is the marble texture, courtesy of http://www.cgtextures.com, as well as the tileable “grunge” texture I used for the specular map, from the same website.
Once the Motion Capture Project was parsed, taken into Houdini, beautified, and rendered out into the final video, I went back into my original Python script to test it in order to make sure it worked with other text files. Below is a video of the script test, with footage that was taken from the same site as the original.
test video
