Rib Wrangling – VSFX 502: Programming 3D Models & Shaders, Fall 2012
The final image of the abstract composition, rendered with Pixar’s RenderMan studio through the rib protoocol.
Animation Key RIB Script
Tween “from” 1 “to” 2 “frames” 30
Tween “output” “all”
#Tween “output” 1
#——————————————
KeyFrameBegin 1
Projection “perspective” “fov” 50
ShadingRate 1
Translate 0 0 12.747
Rotate -30.657 1 0 0
Rotate 360.0 0 1 0
Translate 0.5 -0.0 0.0
Scale 1 1 -1
TransformEnd
WorldEnd
KeyFrameEnd
#——————————————
KeyFrameBegin 2
Projection “perspective” “fov” 50
ShadingRate 1
Translate 0 0 12.747
Rotate -30.657 1 0 0
Rotate 46.847 0 1 0
Translate 0.5 -0.0 0.0
Scale 1 1 -1
Rib Wrangling: Specular Render
This image shows the specularity of the composition by showing the highlights that result from the lights.
Here we see the diffusion of light across the surfaces of the shapes.
This images shows the direction of the normals, which can be helpful when assigning more complex shaders and textures to the objects. The normals will help determine how light bounces off of an object, and can be delineated based on the direction of each face of an object.
Rib Wrangling: Gamma-Correction
These two images depict the effect that gamma can have on a final render; the image above shows an image that has a proper gamma correction, whereas the image to the right has not been corrected. Notice the stark contrast between the two, and how much darker an image without a gamma correction can be. The image above has a gamma correction of 2.0.
Rib Wrangling: No Gamma-Correction
Rib Wrangling: Lighting and Coloring Renders
The two renders above show part of the process of adding a colored light source to the render by way of the rib language. The colors were created by adjusting the red, green and blue values within the text editor. All of the color in this project has been created with lights only.
Colored-Light RIB Script
LightSource “pointlight” 3
“float intensity” 1.0
“color lightcolor” [2.5 1.0 1.4]
“point from” [0.0 10 3]
LightSource “pointlight” 3 #back
“float intensity” 1.0
“color lightcolor” [4.5 1.0 1.4]
“point from” [-1.5 5.5 -3]
LightSource “ambientlight” 0.8
“float intensity” 1.0
“color lightcolor” [0.4 1.0 2]
LightSource “pointlight” 6
“float intensity” 10.0
“color lightcolor” [3.0 1.0 3.0]
“point from” [1 -2.5 0.0]
Rib Wrangling: Depth of Field Renders
The Depth of Field Renders (above and below) demonstrate the experimentation with various depths of field with the camera lens. Similarly to the color and light adjustments, the depths of field were manipulated by the change of their respective values in the text editor.
Depth of Field RIB Script
Translate 0 0 12.747
Rotate -30.657 1 0 0
Rotate 46.847 0 1 0
Translate 0.5 -0.0 0.0
Scale 1 1 -1
DepthOfField 5 6 9.5
Having always struggled with Photography, it took some trial-and-error to achieve the look of the final render. I am still striving to understand the correlations of the various number values to the effect they create in the depth of field!
Rib Wrangling: Lighting Render
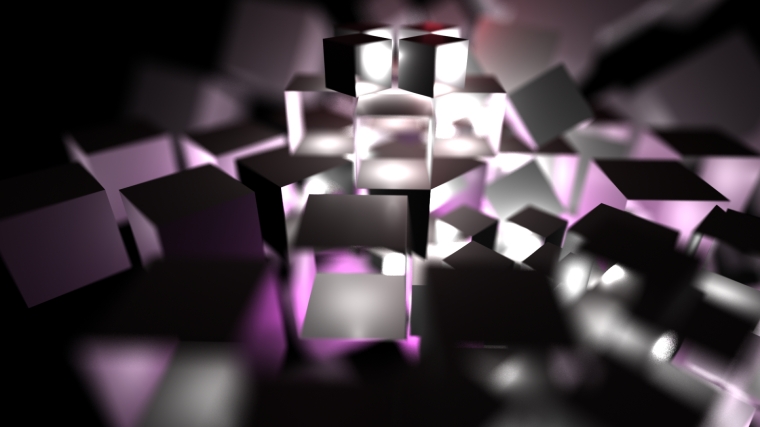
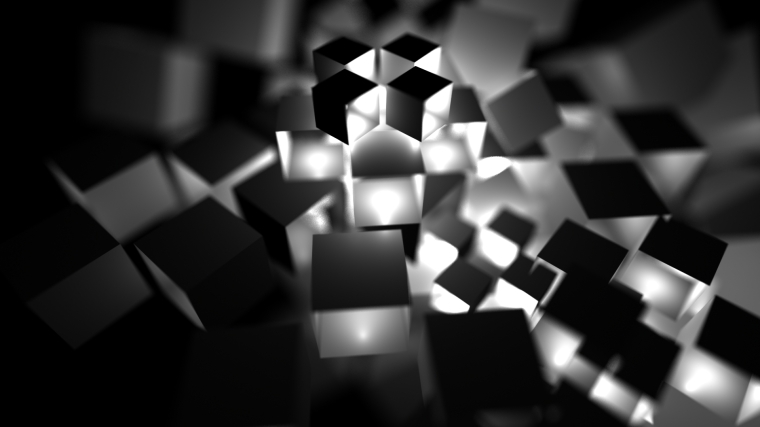
The three lighting renders, shown above, and two below, have light sources that have been embedded into the original rib file for the cube-shape. This creates the illusion that the objects are being lit or illuminated from within, which technically they are!
Rib Wrangling: Occlusion Render
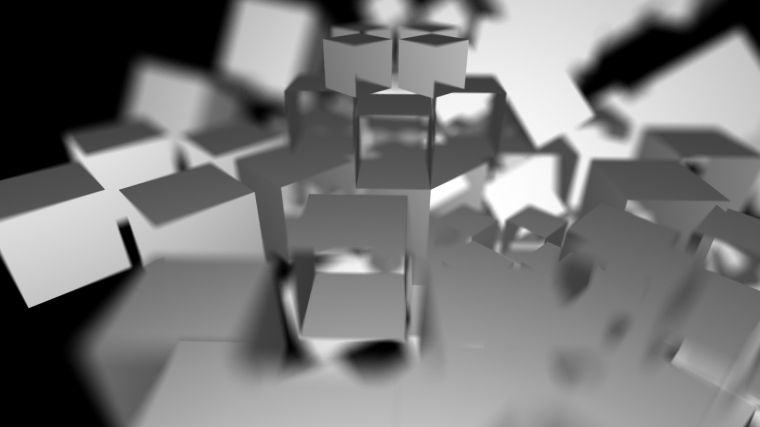
This is an Occlusion render that is supposed to exhibit the contact shadows between each of the surfaces and where they meet, however, it appears to be very subtle. The problem here may have been the setting for “visibility” or “raytracing” as opposed to rendering through the composition’s point cloud.
Rib Wrangling: Original Render
This is a render of the original composition, just as it was created! After playing around with the translation and rotation of the object with the intent of understanding how the rib language, works, I selected this image to be the [first] final. I chose this image as the initial final composition because of its negative space.
Box RIB Script
AttributeBegin #lower
Rotate 180 1 0 0
Polygon “P” [-0.5 0 -0.5 -0.5 0 0.5 0.5 0 0.5 0.5 0 -0.5]
“st” [0 0 0 1 1 1 1 0]
AttributeEnd
AttributeBegin #right
Translate 0.5 0.5 0
Rotate 90 0 0 1
Rotate 180 1 0 0
Polygon “P” [-0.5 0 -0.5 -0.5 0 0.5 0.5 0 0.5 0.5 0 -0.5]
“st” [0 0 0 1 1 1 1 0]
AttributeEnd
AttributeBegin #top
Translate 0 1 0
Polygon “P” [-0.5 0 -0.5 -0.5 0 0.5 0.5 0 0.5 0.5 0 -0.5]
“st” [0 0 0 1 1 1 1 0]
AttributeEnd
AttributeBegin #left
Translate -0.5 0.5 0
Rotate 90 0 0 1
Polygon “P” [-0.5 0 -0.5 -0.5 0 0.5 0.5 0 0.5 0.5 0 -0.5]
“st” [0 0 0 1 1 1 1 0]
AttributeEnd
AttributeEnd


